

A true family favorite is Jajangmyeon, which is a Korean black bean sauce noodles with pork belly. The “Myeon” refers to the noodles, although this can also be cooked with rice (Ja Jang Bap).
For noodles, we used to buy a fresh homestyle noodles from H Mart, but given that jajangmyeon is not an every night event at the house, we found we were holding the noodles for longer than we’d like and wasting some. We’ve since moved to using the Ja Jang dried noodles from H Mart. We keep those in a zip lock bag and just take out the amount we will use in a single serving. Since Mrs Sambar is on a low carb kick, its just me and the rugrats eating noodles.
Korea’s #1 take out meal is so beloved in our household that our kids specifically ask for it and usually is finished on-time without encouragement. Our favourite version is a recipe modified from Aaron & Claire’s 7 minute Jajangmyeon. Funny part is my version takes 30 minutes end to end :D. I’ll explain below. First, credit where credit is due, here is a link to the original version.
So why modify this? Well, a couple of things. Our family likes more “stuff” in the jajangmyeon specifically potatoes. You can also use the same method to add in carrots or cabbage. Also, we tend to like having more “sauce” especially since we have more stuff to roll in the black bean sauce, therefore we double the sauce component. Finally, I thought recording my workflow would be useful, to get you from zero to hero in 30 minutes or less.
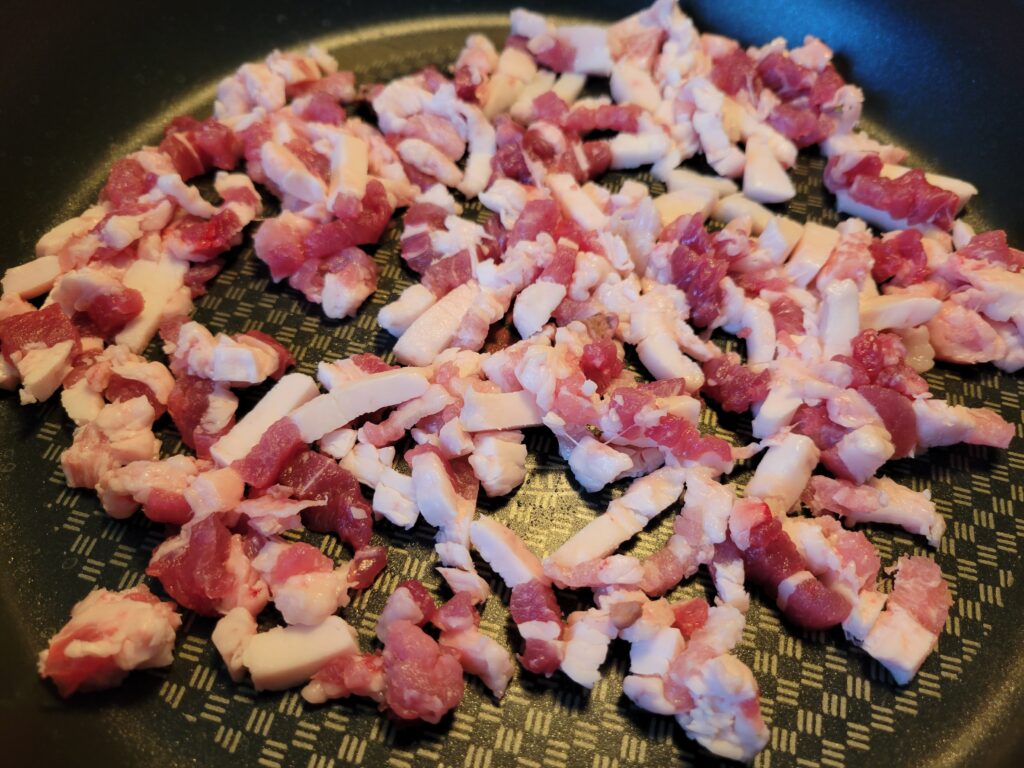
We take 30 minutes end to end in order to render out as much pork fat as possible. I have been strongly instructed by senior management (one could say threatened with dire consequences) not to try to sneak in more pork fat for “flavor”. As such, I try to render out as much fat as possible. Rendering fat, similar to caramelizing onions takes time at low temperatures. If you look at the pictures below, you can see how much pork fat is rendered out from half a pound of pork belly. Note that this is also the same reason I cook bacon for 15-20 minutes at lower temps (starting in a cold pan) to render out the fat first.
I buy sliced pork belly from the local H Mart. It usually comes in a 1 lb (or slightly over) package and we save half and freeze for future use. The specific black bean sauce (labeled Chinese Style Black Bean Paste) that Aaron shows is also available at H Mart.
Recipe :
– 1/2 lb Sliced Pork Belly diced into lardons (small bitsies)
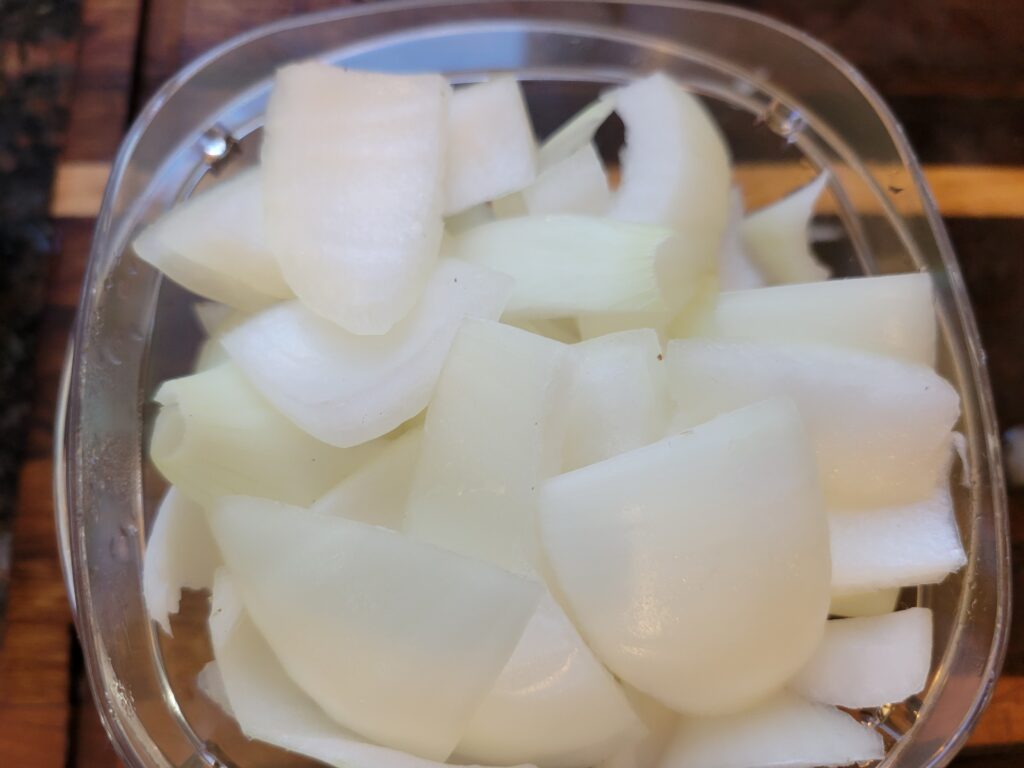
– 1 medium sized (or 1/2 extra large) sweet onions (vidalia etc) sliced into chunks
– Optional additional vegetables (one or two max of the following)
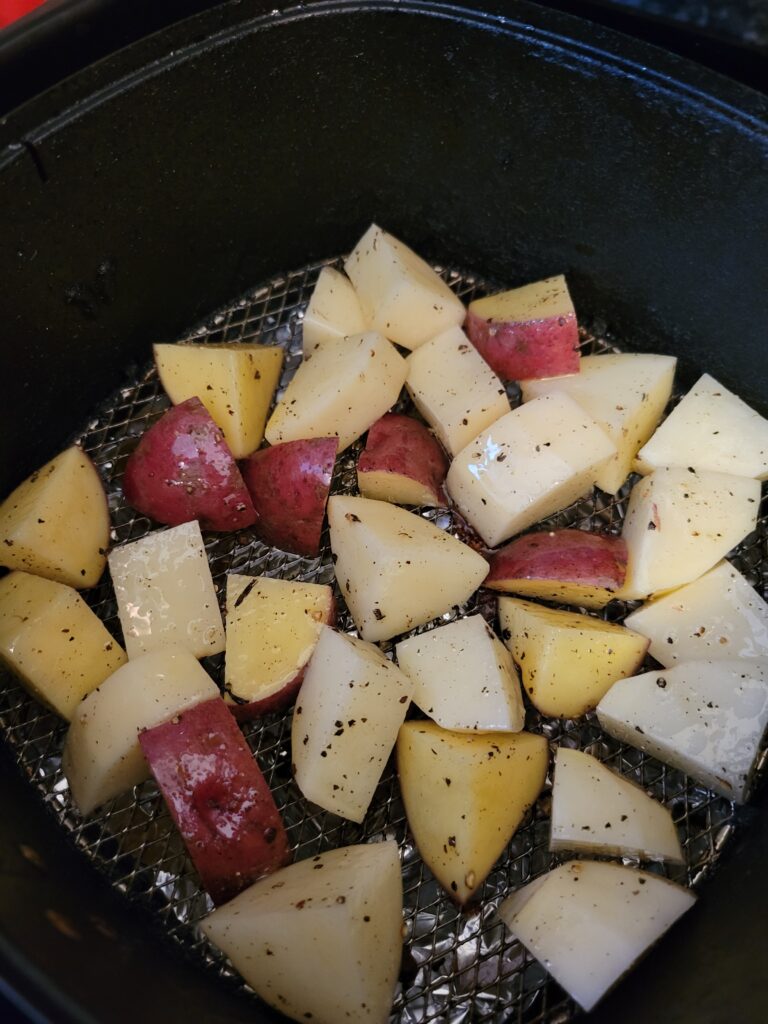
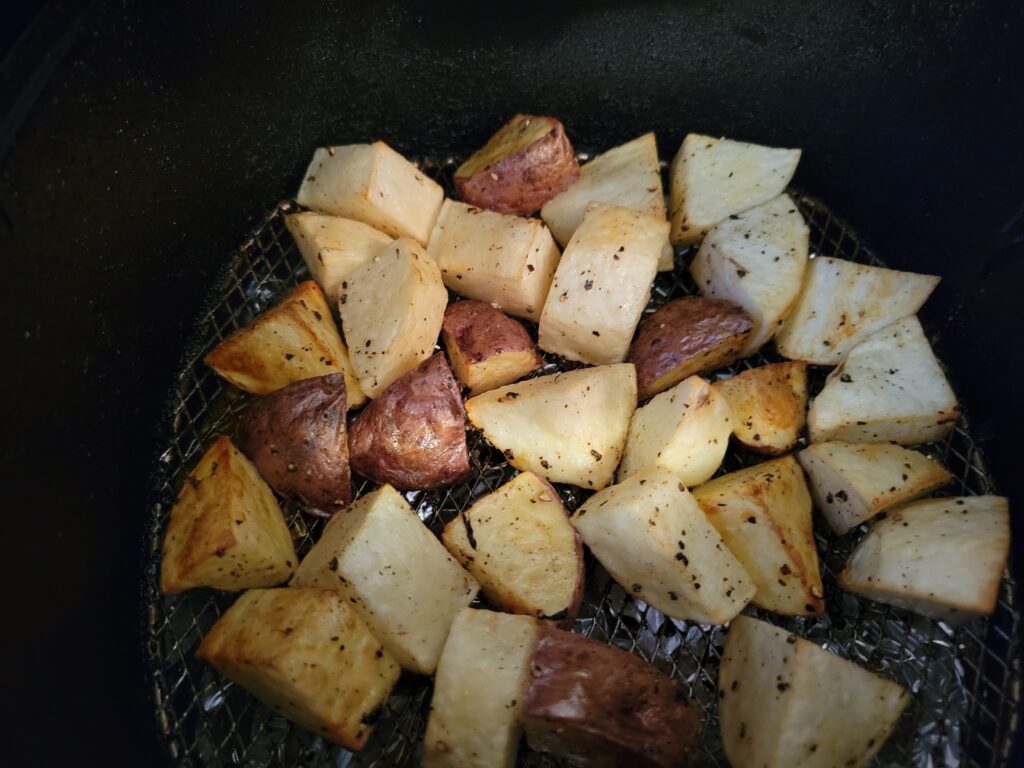
- 1 large potato (peeled russet or yellow or red skin potatoes) diced into 1 in cubes
- Squash peeled and diced into 1 in cubes
- 1 cup of shredded cabbage
- 1 large carrot diced into small coins
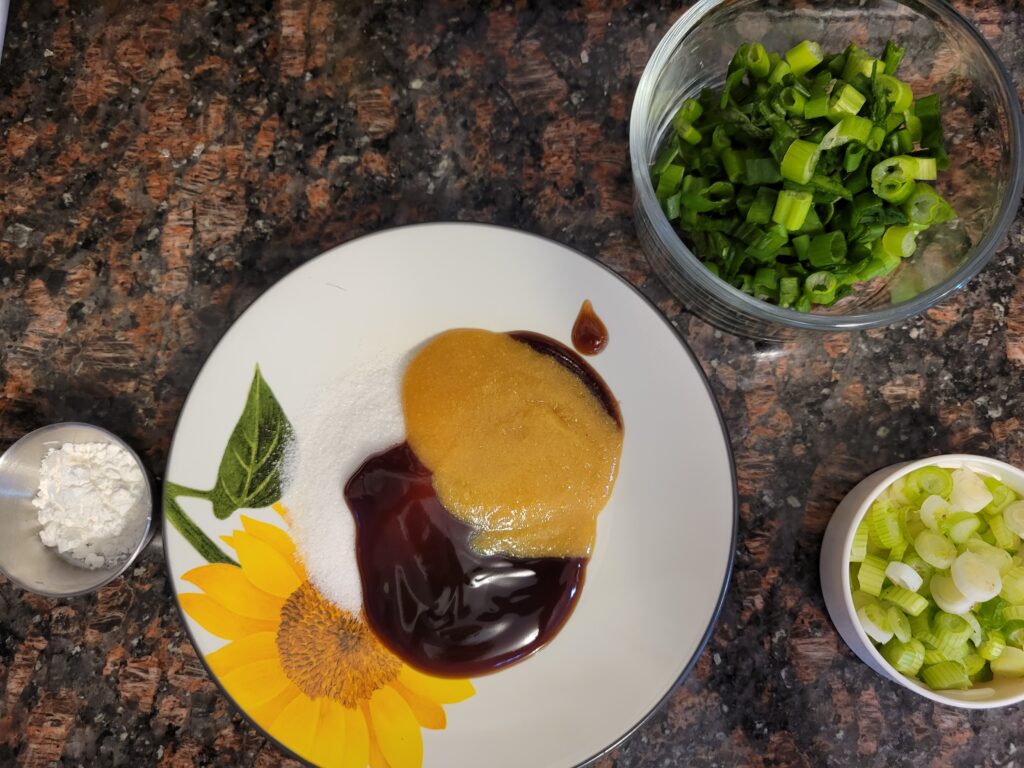
– 2-3 green onions
– 3 Tbsp Black Bean Sauce
– 1 Tbsp Oyster Sauce
– 1 Tsp Chicken bouillon (we use the Better than bouillon variety)
– 1.5 Tbsp Sugar
– 1 Tsp Corn or Potato Starch
– 2 Tbsp water
Method :
First slice the pork belly into Lardons. Then set a large pan on the stove on medium low heat and spread out the lardons. Let it sit there, stirring occasionally while you start the rest of the prep.
Next, peel and slice up the potatoes and/or or squash. Toss it in oil with some salt and pepper and throw it in the air fryer (or a toaster oven) at around 350 and set it for 15 minutes (20 minutes in a toaster oven).
Next, peel the onion and cut it into fairly large chunks. Slice up the Green onion and separate the whites and greens. Slice up the cabbage (if you choose to use cabbage) into shredded bitsies and carrots into small pieces.
Get a saucer and start prepping the sauces in one place, the sugar, oyster sauce and bouillon. Prep a small container with 1 Tsp of corn or potato starch.
At this point the potatoes/squash should be done and the fat rendered out of pork belly. Now its time for the races – lets get it on!
First, drain out the excess fat that has been rendered out. I’d recommend saving this if you can surreptitiously, for cooking eggs in, but don’t blame me for any consequences if caught.

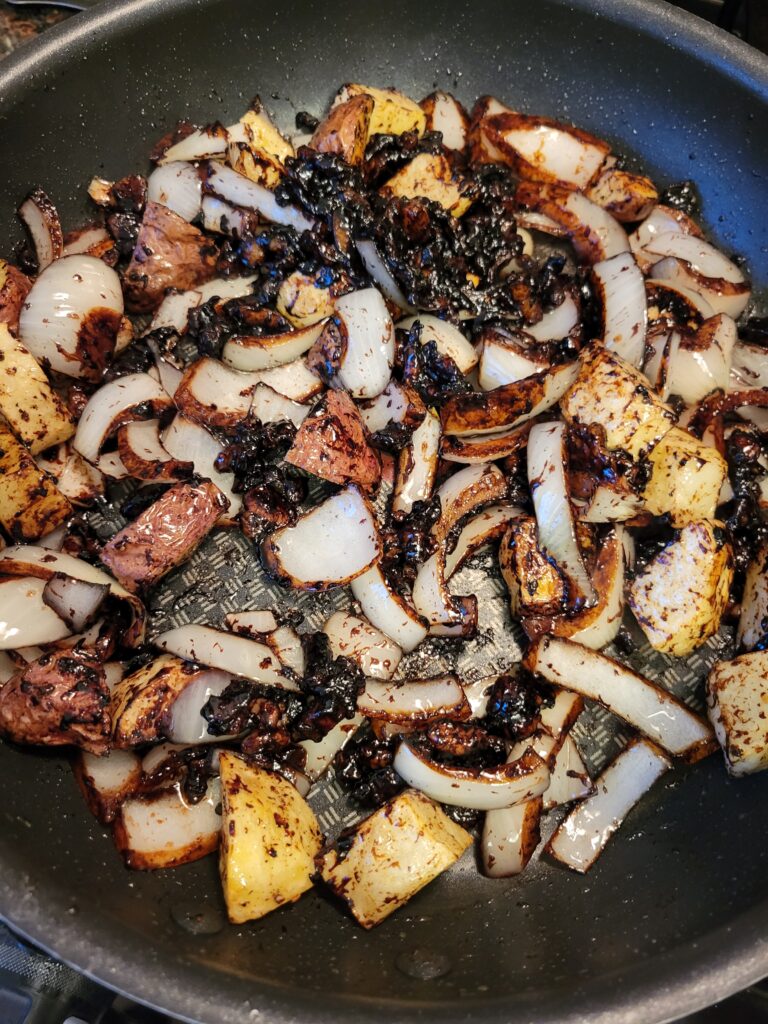
Next, add in the 3 Tbsp of black bean paste. Stir to coat the pork and fry the paste. Add in the sweet onions and stir to coat. Once the onions soften (perhaps a minute or two), add in the whites of the green onion, potatoes/squash from the airfryer, carrots and/or cabbage if you are adding in the optional items. Toss to coat everything.
At this point dump in the saucer of the flavorings (sugar, oyster sauce, bouillon). Toss again to coat.
Add two teaspoons of water to the corn/potato starch and use your finger to stir it, break up any lumps and create a smooth slurry. Now pour it in a little at a time, stirring constantly. Then add in the water getting it to the consistency you like.

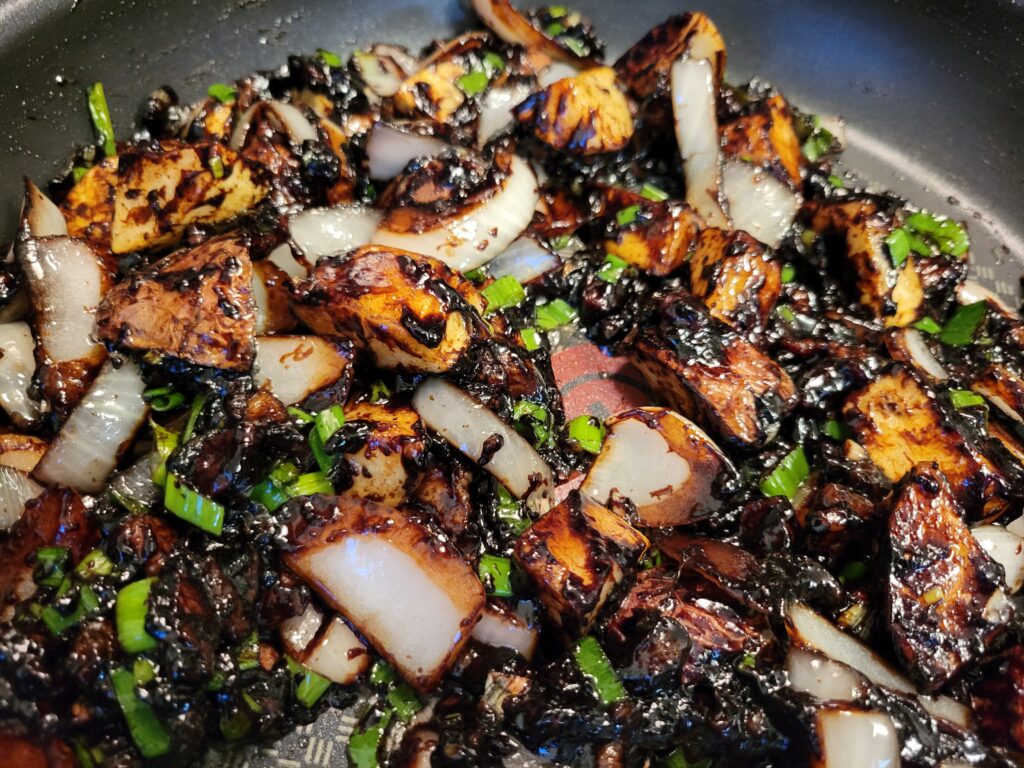
Finally add in the greens of the green onion for color. Off the heat, taste and adjust any seasonings as necessary.
Serve it over noodles or rice as described above. I usually start a pot boiling after draining the fat from the pan. By the time the ja jang is done, the water will be boiling, after which I can focus on draining and prepping the pasta. If it is rice, I usually start that in the instant pot before I start the whole process so the rice has enough time to soak, pressure cook and natural release.
Happy Cooking and Happy Eating!
Updates :
Munchies just released a new video on jajangmyeon, guess it’s hitting mainstream 🙃. My takeaway is, zucchini is a great addition for future. I’d also leave the cabbage in bigger chunks, cut back on the bouillon, and add a little water to adjust the consistency.
Update 03/21/21 : I updated the recipe to reduce the bouillon because it was a bit too salty, and added a couple tbsp water to make it a little more saucy. Next as per above we started adding a few veggies specifically squash. Squash is mildly sweet and goes amazing with the flavors of jajangmyeon. Finally we moved the carrots out of airfryer step to the pan fry step. Reason is that the airfryer renders the carrots too soft. We like a bit of bite to the carrots. We cut them into thin quarters to let it cook enough but retain a crunch.